Product Details
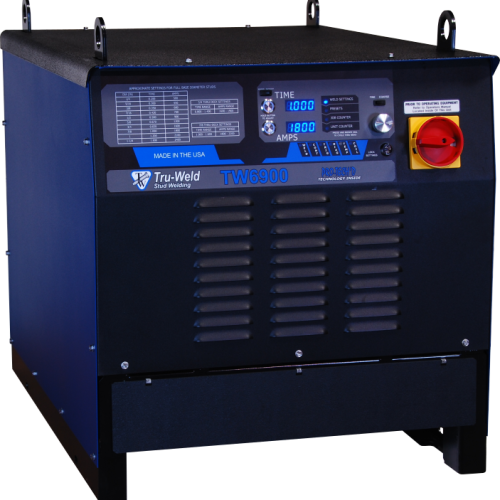
| Size | Weight | Weld Range | Duty Cycle | Input Voltage | Fusing Requirement |
|---|---|---|---|---|---|
| Height 28” (736.6mm) Width 29” (711.2mm) Length 36” (914.4mm) |
760 Lbs (345Kg) | 1/4” to 1” diameter |
|
380 / 400 VAC 3 Phase 50Hz | (slow acting) 380 / 100 Amps 400 / 100 Amps |
Drawn Arc Stud Welding
- Stud welding, also known as drawn arc stud welding, is generally used to weld large diameter fasteners to rougher and thicker base metals. Arc studs may be almost any shape and there are literally hundreds, however, they must have one end of the fastener designed for arc welding. Mild steel, stainless steel, and aluminum are applicable materials for arc stud welding.
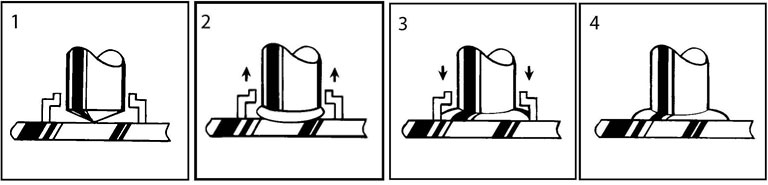
- The stud gun is positioned over the base material and the main gun spring is partially compressed.
- The trigger is pressed and the stud lifts off the base, drawing an arc. The arc melts the end of the weld stud and the base material below. The arc shield (ferrule) concentrates the heat below the weld stud and contains the molten metal within the weld zone.
- The main spring plunges the weld stud down into the molten pool of metal in the base material. The cycle is completed in less than a second and the resulting weld bond develops the full strength of the fastener in the weld zone.
- The weld gun is withdrawn from the weld stud, leaving the ferrule. The ferrule is broken away and discarded.
Capacitor Discharge Stud Welding
Capacitor Discharge (CD) stud welding is generally used to weld smaller diameter fasteners to thin base metals. Since the entire weld cycle is completed in milliseconds, welds can be made without pronounced distortion, burn-through or reverse side discoloration. As long as one end of the fastener is designed for CD welding, CD studs can be manufactured in almost any shape.
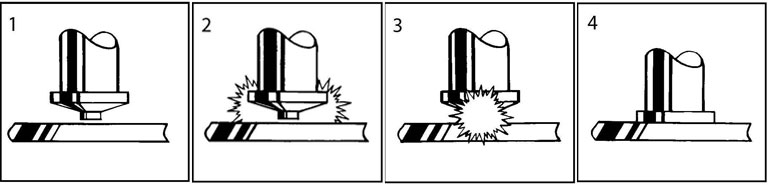
The weld gun and stud is positioned against the work plate. No ferrule is needed.
Stored energy discharged through special weld “timing” tip and the stud starts downward.
The stud is forced downward into the pool of molten metal.
Metal solidifies and weld is completed in a split second.
Stud Welding Guidelines
- Set appropriate time for the weld base diameter.
- Set appropriate amperage for the weld base diameter.
- Ensure that the negative polarity is to the stud gun.
- Align accessories so they are centered and adjust legs so that 3/16″ to 1/4″ of the stud protrudes beyond the ferrule.
- Ensure a good, clean ground connection.
- Keep work surface relatively clean so that impurities don not affect weld.
- Keep studs and ferrules clean and dry.
- Test welds at the beginning of each shift or change in stud (AWS Bend Test).
- Check burn off (1/8″ to 3/16″ depending on stud diameter).
- Check weld fillet (360 degrees).
- Visually inspect all welds.
